Technology
Magnetic rope testing:
State-of-the-art technology for non-destructive rope inspection in the digital age.
Rope testing 4.0
Advancing digitalization and the associated technical developments also offer many new advantages and opportunities in the non-destructive testing of ropes.
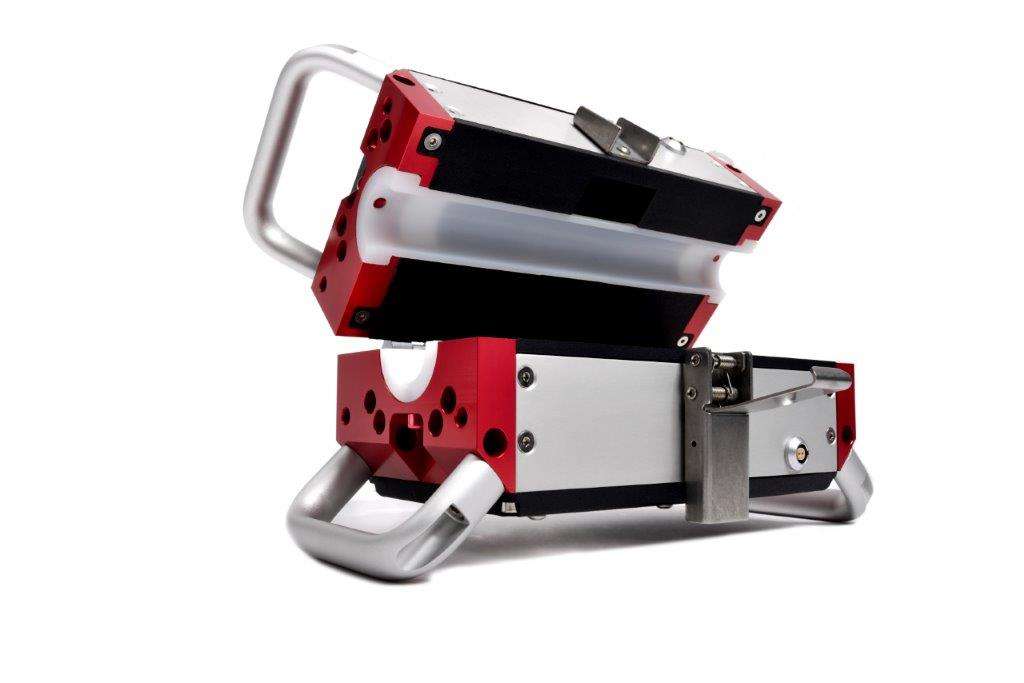
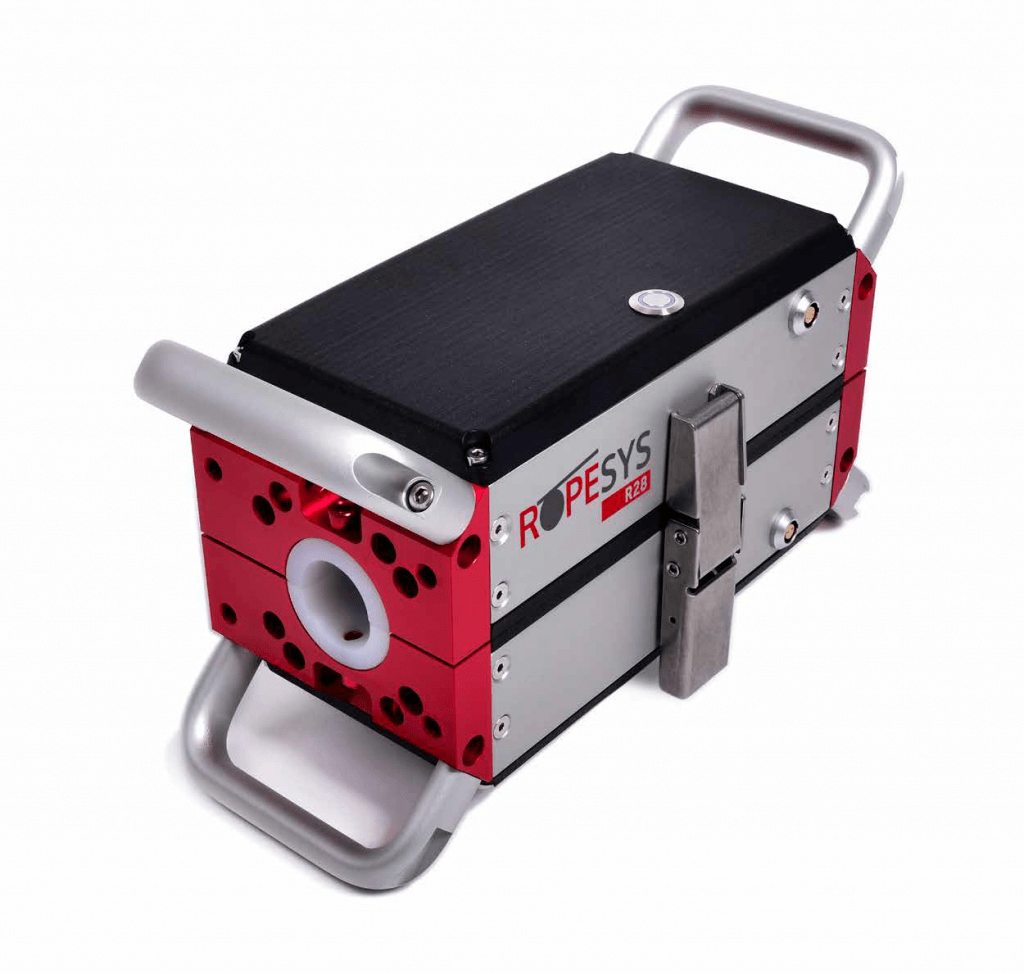
With years of experience in magnetic wire rope testing, we have developed a device that not only handles a wide range of testing tasks but also ensures maximum safety through precise analysis, secure data processing, and reliable rope evaluation. Our magnetic rope testing also offers accurate analysis, ensuring the highest safety when testing ropes.
Precise and efficient with magnetic rope testing
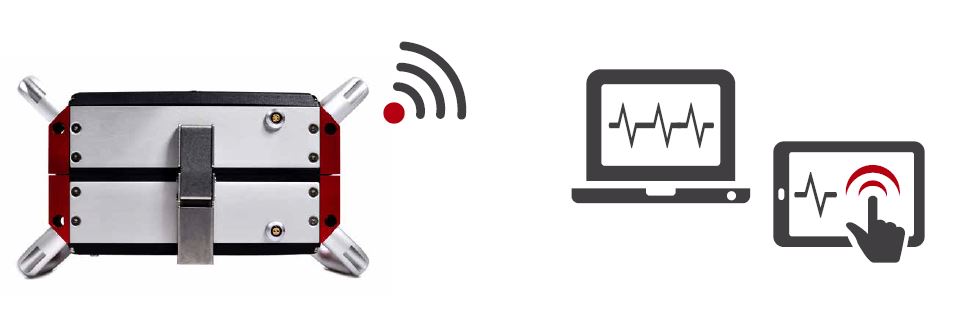
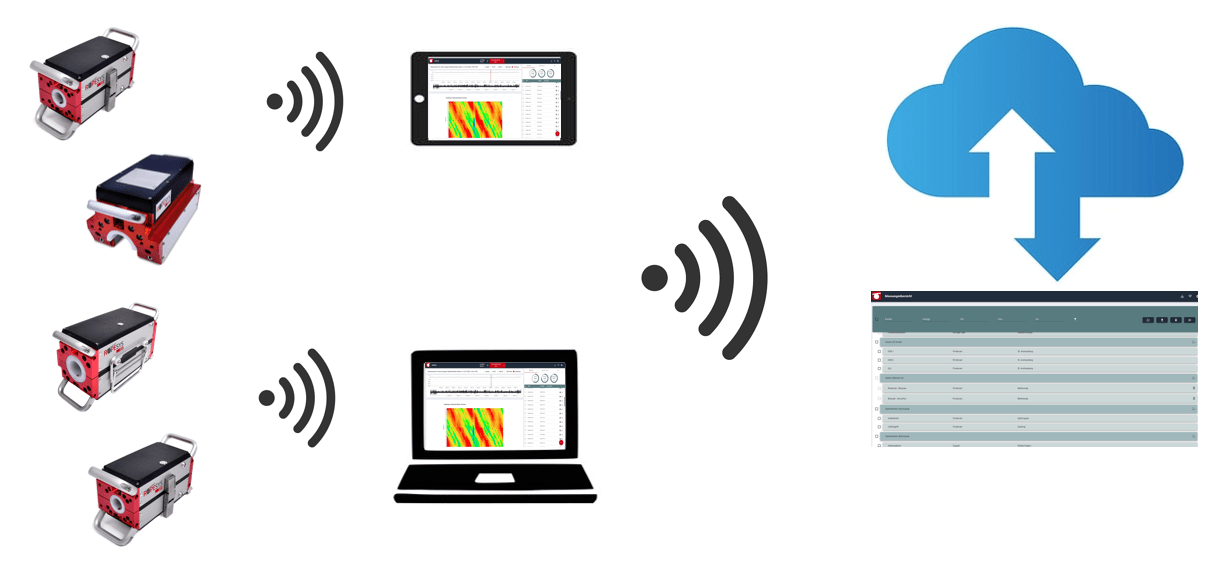
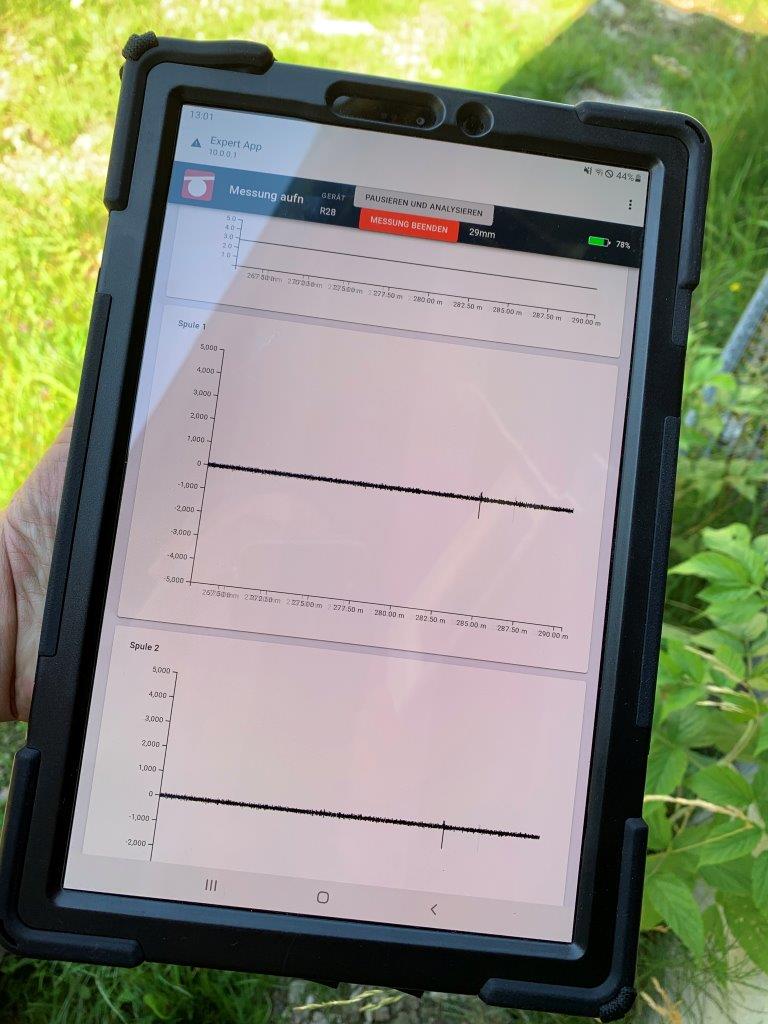
- The wireless operation and visualization of the measurement allow for uninterrupted progress of the measurement, even in the event of connection drops. Once the connection is restored, the measurement can be easily resumed.
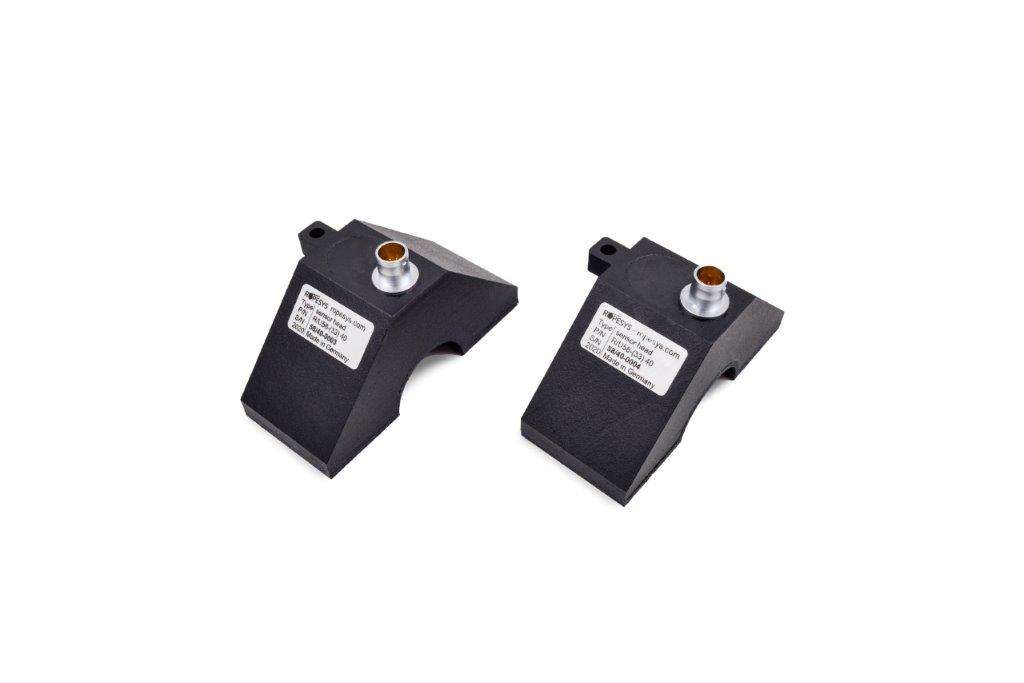
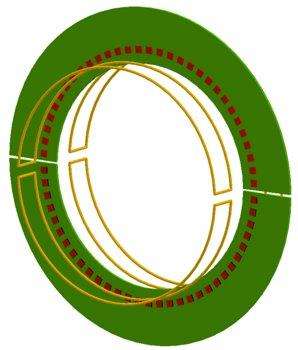
- The innovative sensor concept consists of two induction coils and up to 48 Hall sensors, which are pre-processed and digitized directly in the sensor head.
- Both LF and LMA signals are available.
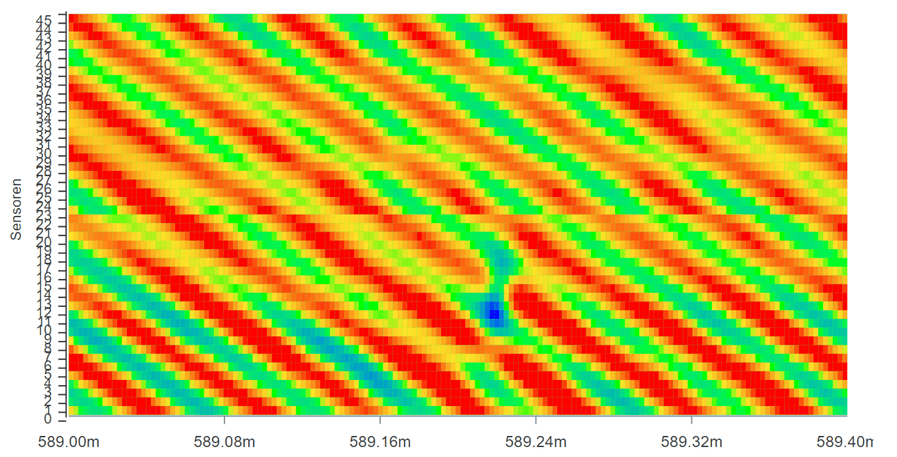
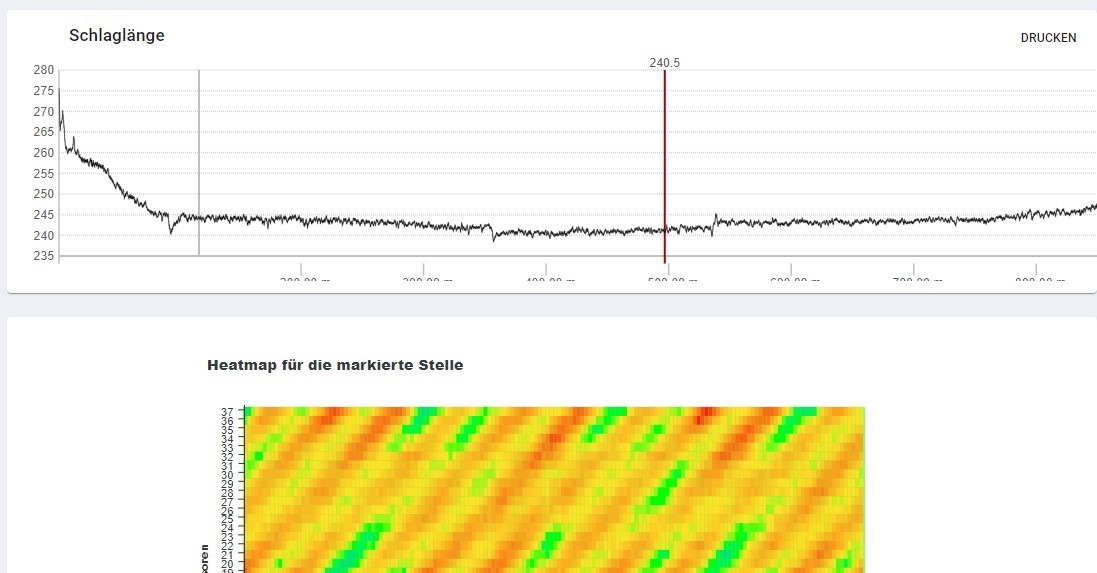
- The defects can also be localized in 3D.
- More efficient magnetic types ensure better performance than comparable systems.
- External cables have also been minimized.
- In addition to the well-known expert system for testing service providers, there is an automated “Smart Device” that automatically analyzes and evaluates the condition of a rope. The user receives a clear and understandable representation of the rope’s condition.
Key Features:
- The database-based storage system for measurements offers a synchronization option between the testing devices and the evaluation technology. This allows measurements to be stored directly on the testing device and conveniently analyzed at a later time. Thanks to this synchronization, your data is available anytime and anywhere, making your testing processes more flexible and efficient.
Flexibility and data access:
- This allows you to store measurements directly on the testing device and easily analyze them later. It enables quick evaluation of the data at any time, ensuring that you can review the measurements at your convenience and process the results as needed.
- Synchronization with a central database is also available, allowing the data to be analyzed on another computer at a later time. This greatly simplifies both the synchronization and subsequent analysis of the data.
- The software runs entirely on the testing device, allowing operation with any internet-enabled device and a standard browser. This makes the use particularly simple and location-independent. Additionally, magnetic rope testing can be carried out quickly and flexibly, regardless of location or device.
- All familiar editing functions such as cutting, moving, and more are also available. In addition, the software automatically checks the functionality of the sensors. Before each measurement, a self-check is performed, where the target values are stored directly on the sensor, ensuring error-free measurements. Thanks to the automatic self-check with direct target value storage on the sensor, you can rely on flawless measurement results.
- If a sensor of the wrong size is accidentally installed, the software detects this and immediately notifies the user to prevent errors. This ensures that both correctly configured sensors and measurement accuracy are maintained, guaranteeing error-free analysis. Thus, we ensure high measurement accuracy and reliable data analysis.
Precision and quality assurance:
- The software automatically performs a standard evaluation and immediately displays the degree of rope wear, providing the user with instant information about the rope condition. This ensures continuous monitoring of the rope’s condition, enhancing the precision of the magnetic rope testing.
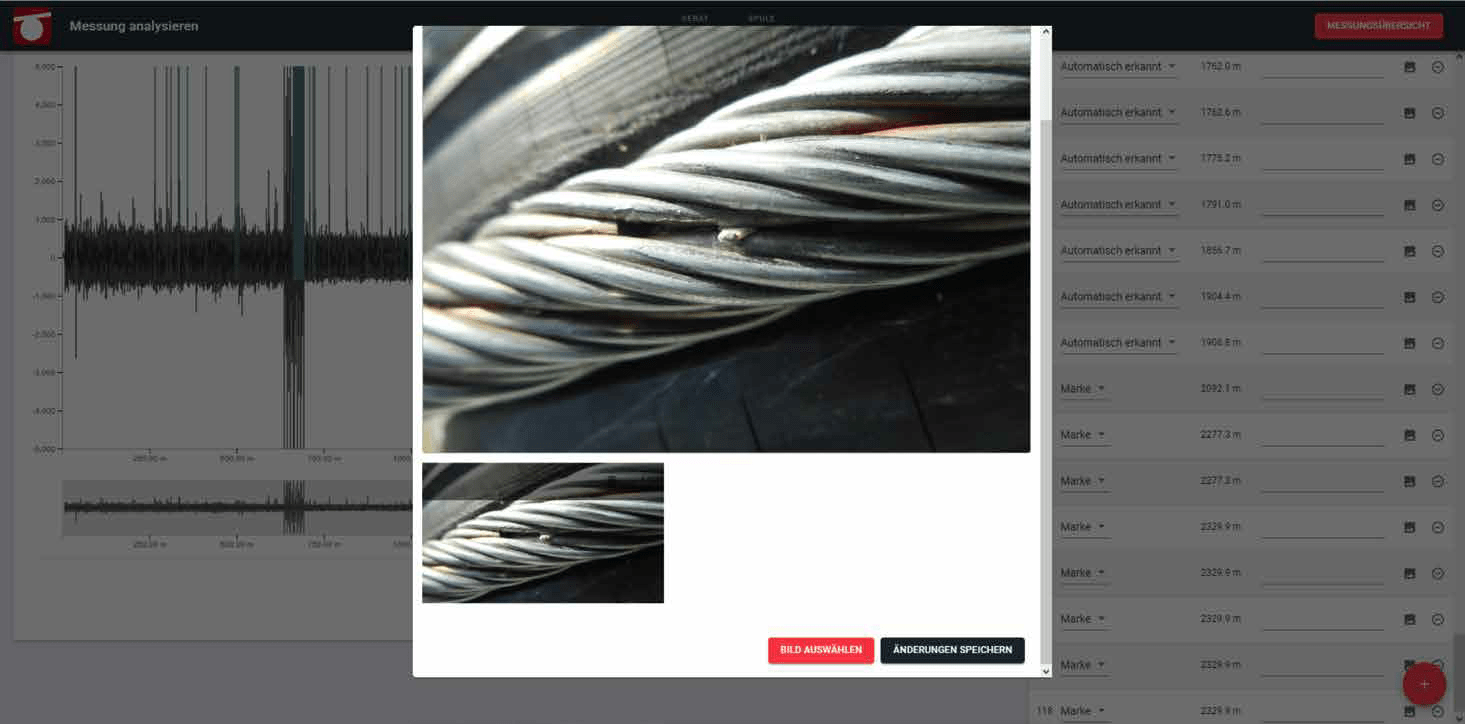
- Magnetic rope testing is supported by powerful software that enables precise analysis of defects and rope condition. Additionally, the user can add photos to the identified defects, alongside manual measurement data such as impact length and diameter, and link them directly to the corresponding defect. This allows for detailed documentation and enhances the accuracy of the inspection.
Comprehensive documentation:
- The user can generate a PDF report for the analyzed data, which includes not only the measurement conditions but also all defects and the standard evaluation. This provides the user with a complete overview of the measurement, presenting all relevant information in a clear format.
- Made in Germany
The production and distribution of the rope testing devices are carried out by ROPESYS GmbH under license from ROTEC GmbH.
The rope testers are available in the first sizes. Further standard and special sizes are being planned.
HERE you get an overview of the different devices and sizes
We are always happy to answer your questions. You can also find the answers to common questions in our FAQs.

As part of the central innovation program for medium-sized businesses (ZIM) of the Association of Industrial Research Associations “Otto von Guericke” e.V. (AiF), the Federal Ministry for Economic Affairs and Energy is supporting both ROTEC GmbH and the innovative development of the new rope testing system.


More information?
Here you can download the latest brochure of ROTEC GmbH
You are currently viewing a placeholder content from YouTube. To access the actual content, click the button below. Please note that doing so will share data with third-party providers.
More Information